Here’s Exactly How (and Why) to Prep Your Skin for Makeup
If you think that you can just apply makeup without doing anything to your skin first, we’ve got some bad news. It’s crucial to prepare your skin for the layers of makeup you’re about to put on. While you may not realize it, it’s this prep that allows your makeup to look flawless in the first place. If the thought in your head is now, How do I prep my skin for makeup application? You’re not alone—and you’re in luck. That’s exactly what we’re covering here.
For starters, prepping your skin for makeup can help give you a flawless and more luminous finish. It can also make your makeup easier to blend and even help it last longer. One of the main things I’ve learned as a beauty journalist is that your skincare routine is just as important as the makeup application process. Yes, this adds an extra step to an already-tedious process. But it’s well worth it for the stellar results.
Keep reading for our foolproof, step-by-step guide on how to prep skin for makeup.
How to Prep Skin for Makeup
Step 1: Cleanse your face.
Cleansing your face before applying makeup is essential. Skipping this step will leave excess oils and grime on your skin that may prevent it from fully absorbing the makeup. This is especially true if you have oily skin. I have unreactive skin that’s oily in the T-zone, so I love the La Roche-Posay Toleriane Purifying Foaming Cleanser. It helps keep my skin clean without stripping the skin-loving oils.
If you have sensitive skin, though, consider the CeraVe Hydrating Facial Cleanser. This will also leave your skin feeling clean but it won’t irritate your dermis. Folks with oily skin might enjoy a face cleanser like Youth to The People Superfood Facial Cleanser. It’s lightweight enough to not add more oil to your skin. But it’s still hard-working enough to clean the oils your skin doesn’t need. And, lastly, if we had dry skin, Tower 28 Beauty SOS Gentle Hydrating Gel Cleanser would be our go-to. We like this better than the CeraVe Hydrating Cleanser for dry skin because it has more hydrating ingredients.

Step 2: Exfoliate.
The best way to remove dead skin cells is by exfoliating your face once a week. I mean, at least that’s what I do. This is an important step when you prep your skin for makeup application. That’s because an excess of dead skin cells can lead your makeup to look cakey. And who wants that? To be sure, you can opt for a physical or chemical exfoliant. If you want a scrub, a.k.a. a physical exfoliant, opt for the OSEA Seaglow Resurfacing Face Scrub. If you’re looking for something different, might we suggest the Krave Beauty Kale-Lalu-yAHA. I use this product twice daily and it gives my skin the dew and clarity I’m often complimented on.
Step 3: Apply toner.
Toner is a skincare product that I will always swear by. It has tons of benefits for my skin—like hydrating my face and helping my skin absorb the rest of the products in my skincare routine. Similarly, a good toner will be key in preparing your skin for makeup application. I love using the Heritage Store Rosewater and Glycerin toner pre-makeup. It’s great at getting my skin dewy without leaving it sticky.
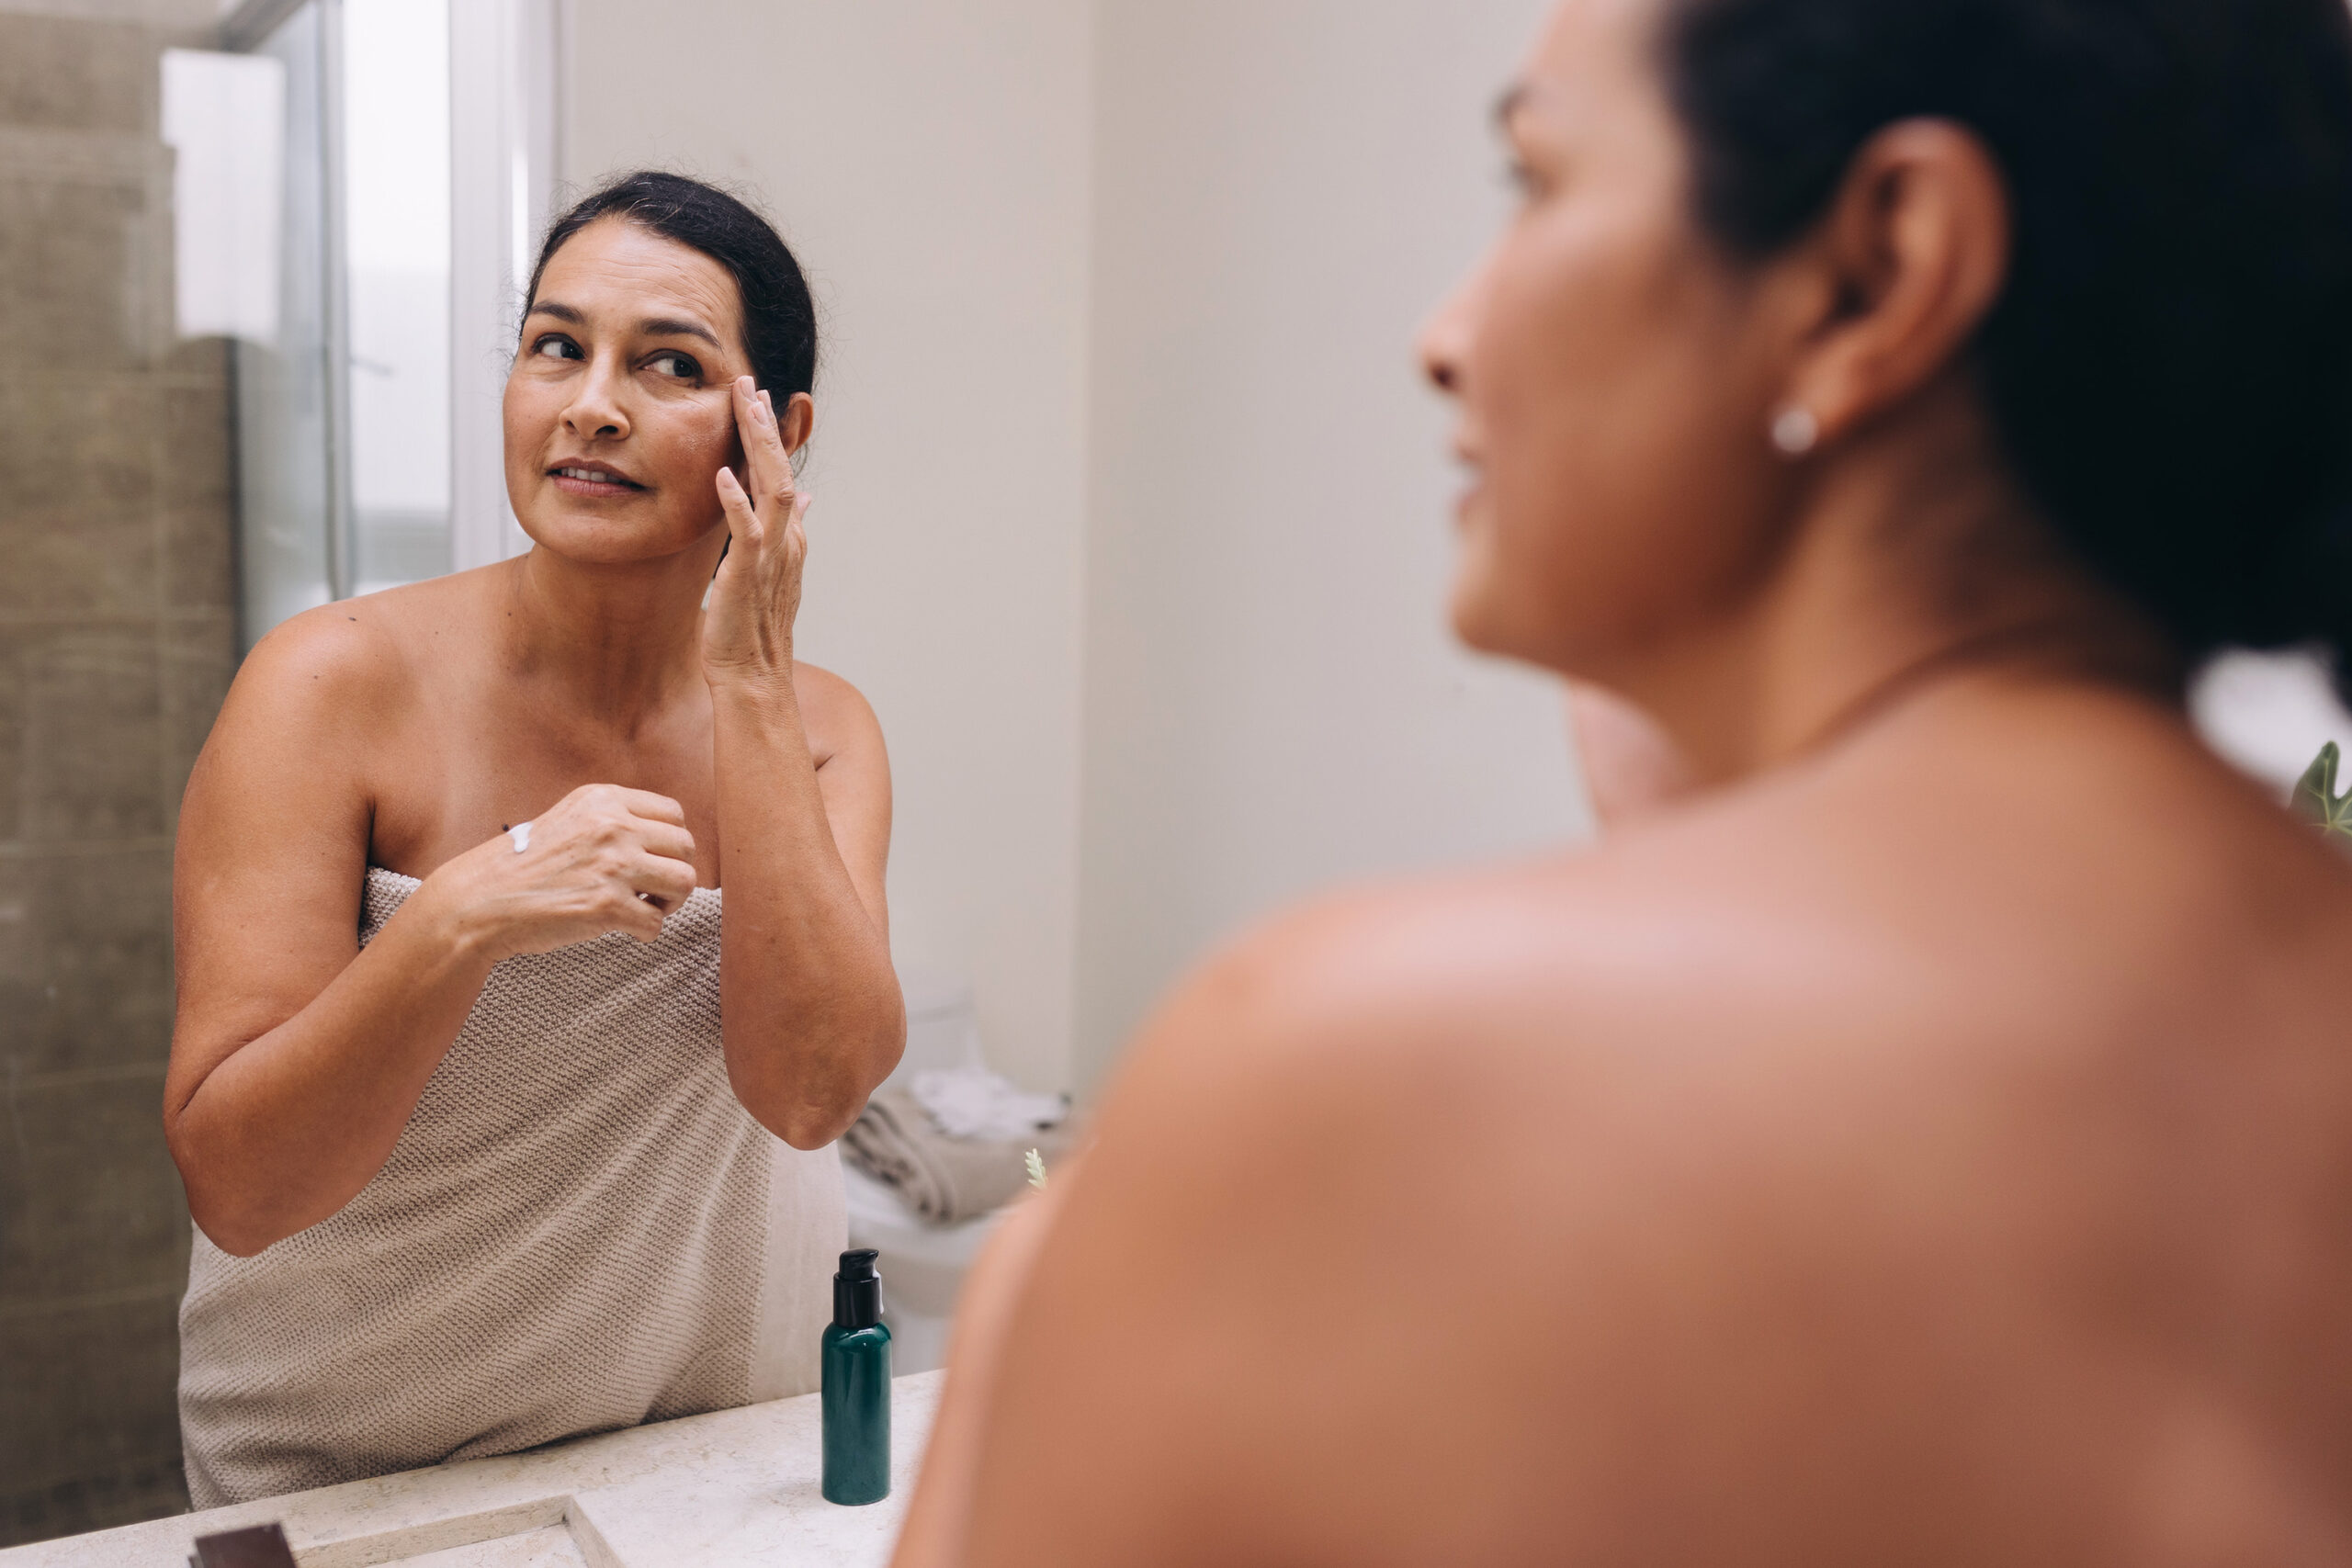
Step 4: Put on eye cream.
You might be asking why you’ll need eye cream if you have concealer. As it turns out, that’s exactly why you want an eye cream as part of your makeup routine. Concealer works best on skin that’s moisturized. And that’s what eye cream does for your under eyes. My personal favorite is the Farmacy Wake Up Honey Eye Cream. It contains vitamin C, which helps brighten the skin, and is great for all skin types.
Step 5: Apply a makeup primer.
The last step in your prep for makeup application is applying a primer. This is the halfway point between makeup and skincare, as the previous steps were solely the latter. Think of primer as the base for your makeup application—it goes on even before your foundation. (Also, a quick plug for the Nars foundation because she really is that girl.)
Similar to choosing a cleanser, picking a primer depends on a few things—namely the kind of skin that you have. For people with unreactive skin, like mine, I recommend the Thrive Causemetics Brilliant Face Brightener. If you’re looking for a budget-conscious option, though, you can’t go wrong with the NYX Bright Maker Primer. And if you’re on the hunt for the best primer for acne scars, we suggest Topicals Sealed Active Scar-Filling Primer.
The bottom line is that you absolutely must cleanse your face and prep your skin prior to makeup application. The good news is we’ve shown you exactly how to do that and you’ll always find us here.