How to Style Wavy Hair, According to Someone With That Hair Type
I’ve had wavy hair my entire life, which means I’ve figured out exactly how to style wavy hair. The good news is that once you’ve got it down, it’s not really that hard. The bad news is that it is pretty difficult to get it down pat. It takes a lot of patience, as well as trial and error. Unlike styling straight hair or curly hair, styling waves requires getting intimate with your wave pattern. You need to know how your waves behave on day one, two, and three. (If you know, you know.)
The best way to get to know your hair is to have photos of it at different stages. Now, you don’t need to have a picture of it when it’s wet. It’ll suffice to snap a shot of your strands when they’ve fully dried on wash day. From there, you’ll want to take a pic of it on day two. And you’ll repeat this process on day three. I don’t suggest taking pics after that because waves largely lose their volume after day three. Plus, if you have fine waves with tons of natural oils, you’ll probably wash your hair more frequently than someone with a coarser hair type.
Below, find a wavy gal’s ultimate guide for ways to style wavy hair. As an added bonus, I’m also sharing how to create a wavy hair routine that’s helped me on my natural hair journey.
How to Style Wavy Hair
Styling wavy hair requires a meticulous approach. It has to do with the hair products you use and your hair texture. Sometimes, even the climate of where you live may affect the natural wave of your hair. For context, I’ve tailored the below hairstyles for people that have 2A waves like mine. That said, most other wave types shouldn’t have a problem recreating them.
Go au naturel by air drying.
This is hands-down the easiest and most convenient way to style wavy hair. You basically just need to wash your hair in the shower and let your hair dry naturally. It’d be a good idea to use some sort of styling product to keep frizz and flyaways at bay. My suggestion? Guy Tang’s #MyDentity #MyHero Nourishing Crème. I like this approach because it’s no-nonsense and basically everyone can do it.

Use a clip for a half-up, half-down look.
To my millennial joy, claw clips have once again entered the chat. This is particularly good news for people with wavy hair. Hair ties can cause awkward indentations for these types of ‘dos, but that’s not the case with claw clips. Get the look by separating the top of your hair from the bottom, horizontally. Then, twist the top part of your hair at the roots. Once will do, and you’ll notice that there’s a bun-like chunk of your hair at the base. That’s where you’ll place the clip. The end result? A wild-yet-cute hairstyle that showcases your waves.
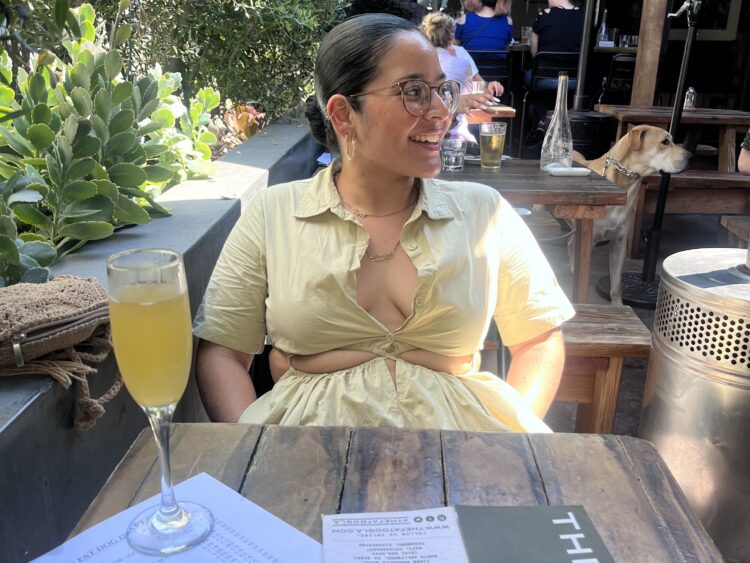
Create a slicked-back bun.
Whether you’re wavy- or curly-haired, you know that sometimes you just don’t have time to style your natural tresses. And that’s why knowing how to create a slicked-back bun is so handy. The best part? The dirtier or oilier your hair, the better. You’ll also need a fine-toothed comb for this one, but you may not need gel or hairspray—depending on how oily your hair is.
You’ll start by putting your hair in a ponytail. Make sure to set it where you want your bun to sit. Once your pony is in place, use the comb to make it slick. You may need to re-do your ponytail to ensure there are no bumps at the base. Then, twist your hair until it leads itself into a bun. Secure it with another hair tie and you’re good to go. If you want to be extra safe, use hairspray to keep everything where it’s supposed to be.
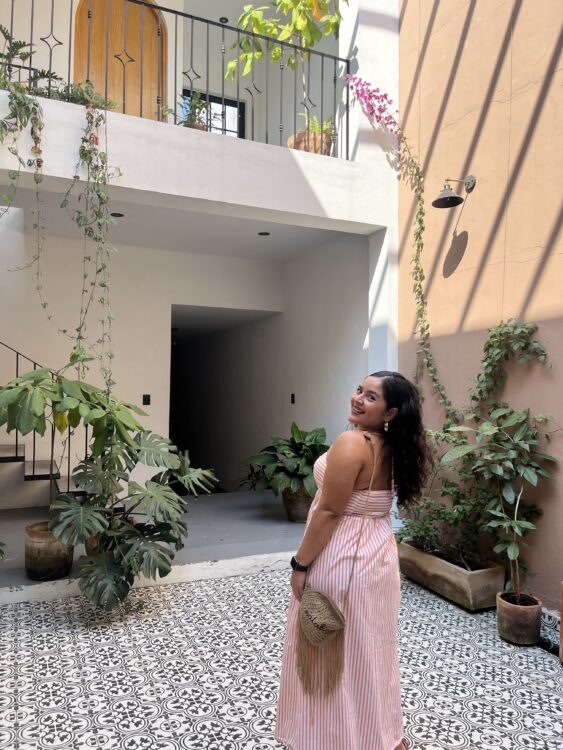
Sport a good, old-fashioned hair tuck.
If you’re wondering what a hair tuck is, allow me to explain. This is the look you’ve seen where the front pieces of the hair are super slick and appear to be tucked behind your ears. I love this look for day three or four hair, when my waves are a bit flatter. Since my front strands are super straight, it makes it look like my waves haven’t died down. (Even though they very much have.)
To do a hair tuck at home, you’ll need a fine-tooth comb and a bit of gel. Start by using the comb to separate two inches of your front strands from the rest of your hair. Do this for each side and tie those in the front to hold them in place. Then, grab a claw clip to hold the back of your waves up so that they’re out of the way. Untie the two strands from the front, comb them back, and secure them with a small rubber band. Let your clipped-up hair down and voilà.
Rock some space buns.
If you need something a little more playful, consider space buns. I like this style for going out with friends or when I’m going to a children’s party. It’s not quite as easy as doing a slick back, but the extra effort is worth it. Start by parting your hair (either in the middle or to the side) and putting the sides into pigtails. It’s important to do this carefully so that your buns aren’t lopsided.
I like to use the comb as a sort of level, like when you hang a painting on the wall. If it looks straight (or straight enough), I know the buns are even. Then, just like with a slick-back, you’ll twist your hair into a bun around the base of your pony. Use a hair tie to hold each bun in place. To add even more playfulness, try adding small clips at the base of your buns.
How To Do A Wavy Hair Routine
Step 1: Wash your hair.
I like to wash my hair once a week because my waves can hang on for that long. When I do finally wash them, I shampoo twice. Pro tip: Most people will need to do this to get all the buildup out of your hair and scalp. In between shampoo and conditioner, I like to do a deep condition. This helps hydrate and nourish my strands. I’ve tried at least a dozen hair creams, but the Briogeo Curl Charisma™ Rice Amino + Avocado Hydrating & Defining Hair Mask reigns supreme. Even though “curl” is in the name, this formula is also great for wavy hair.
Step 2: Remove excess water from your hair.
An important note: It’s preferable to avoid having excess water in your hair. This is because too much water can lead to frizz, which wavy-haired folks are always trying to avoid. You can squeeze out any extra water or get rid of it by lightly towel-drying your hair. If you go with the latter, make sure you use a microfiber towel. This material is more absorbent and less likely to cause friction or breakage.
Step 3: Apply a lightweight product.
After your hair is clean and not soaking wet, it’s time to go in with a lightweight styling product. I like to take a quarter sized amount and rub it in my hands. From there, I flip my hair upside down and pat the product into the top and bottom. To more evenly distribute the product, I brush it with a wide-toothed comb. This also helps get rid of any remaining knots that I didn’t get out in the shower.
Step 4: Blow-dry your hair.
I’ll be the first to admit that this is an optional step. That said, I always think my hair looks better when I blow dry it versus when I let it air dry. When I blow dry my hair, it’s bouncier, shinier, and more voluminous. I start by hovering the hair tool just above my hair. When my strands are about 80 percent dry, I’ll flip my hair around and blow dry it like that for added volume.
My favorite blow dryer for wavy hair is probably the Curlsmith Defrizzion Travel Hair Dryer, which folds in half and comes with a diffuser. In case you were wondering what’s better in terms of Dyson Airwrap vs Supersonic, I’d suggest the Airwrap.
Step 5: Add a dash of hair oil.
When I manipulate my hair more, like I do when I blow dry it, there’s always a bit of frizz. I like to handle that with a few drops of hair oil. My faves include Ouai Hair Oil and Mielle Organics Rosemary Mint Scalp & Hair Strengthening Oil. How much you use will depend on your hair density, but it’s always better to start with less. And that rounds up my best tips to style wavy hair.
Not blessed with wavy hair? Fret not. Our founding editor, Daley Quinn, has figured out how to get perfect heatless waves overnight.


